Switch the OneNote notebook
Outcome: New syncs will land in a different OneNote notebook. Existing pages in the old notebook stay put.
If ReMarkSync says OneNote can’t use this notebook, switching to a notebook in your own OneDrive fixes it. See OneNote access problems.
Before you begin
Section titled “Before you begin”- Complete setup and have at least one OneNote notebook available.
- Open the Settings tab.
Switch the destination
Section titled “Switch the destination”Use Switch OneNote notebook when you want a tidier notebook, or when you want personal and work notes in different destinations.
-
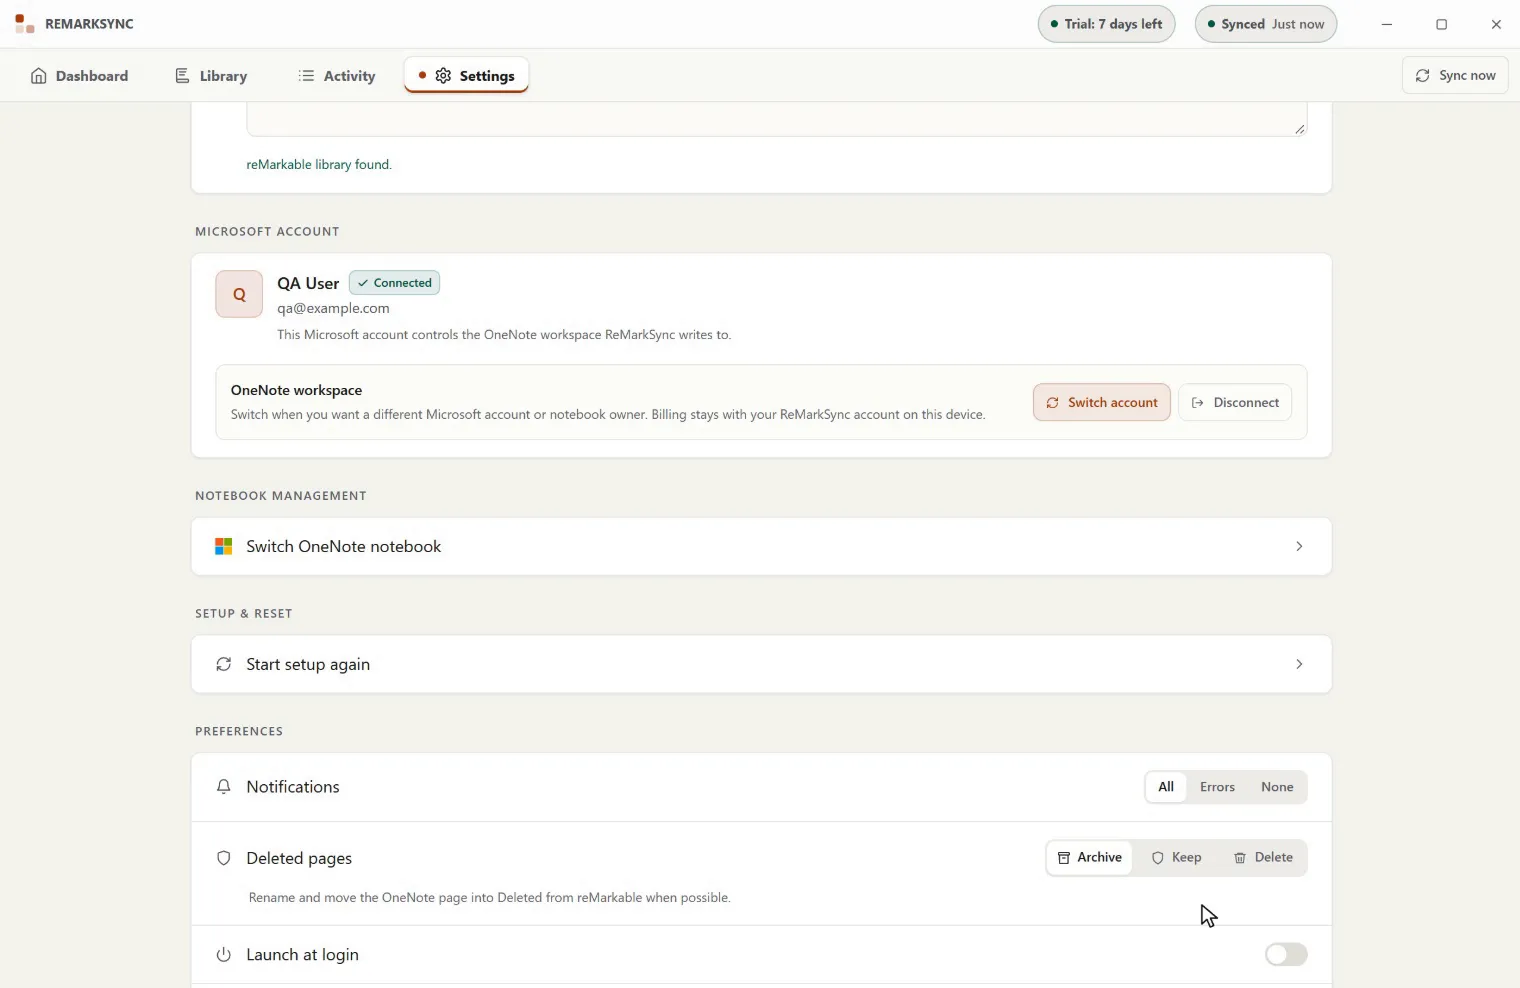
In Settings, find the OneNote section and expand Switch OneNote notebook.
-
Open the notebook list and choose the new destination. Select Refresh if a notebook you just created is missing.
-
Select Switch notebook.
-
If pages need to be sent again, ReMarkSync asks first, for example: “Switching sends 4 pages again to the new notebook. Large switches can take longer because of hourly request limits. Pages already in your current notebook stay as they are.” Select OK to switch, or Cancel to keep the current notebook.
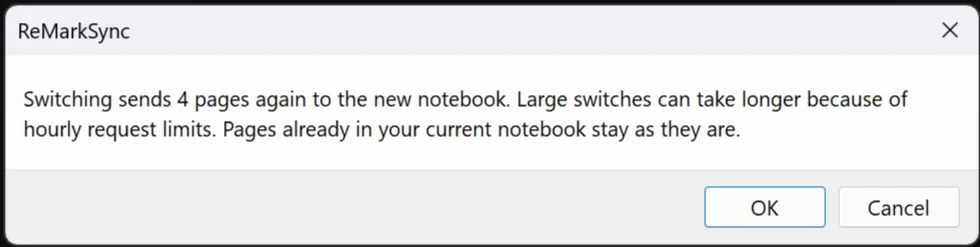
ReMarkSync asks before a switch sends pages again. OK switches; Cancel keeps the current notebook. Example using sample data.Open full size -
Open Dashboard and wait for the next sync, or select Sync now.
ReMarkSync rebuilds your selected reMarkable pages in the new notebook. It does not delete pages from the previous notebook, so you can tidy that yourself in OneNote after you confirm the new one is complete.
Expected result
Section titled “Expected result”If your screen looks different
Section titled “If your screen looks different”The current notebook name appears above the list when it differs from your new choice. Organization-managed accounts may still need OneNote permission for the new notebook.